Brendan Williams · Transcript · · Updated
The EASIEST Way To Remove Objects In Photoshop – Transcript
Video by Brendan Williams · Watch the original on YouTube
Summary
AI-generated from the transcript. Verify details against the source video.
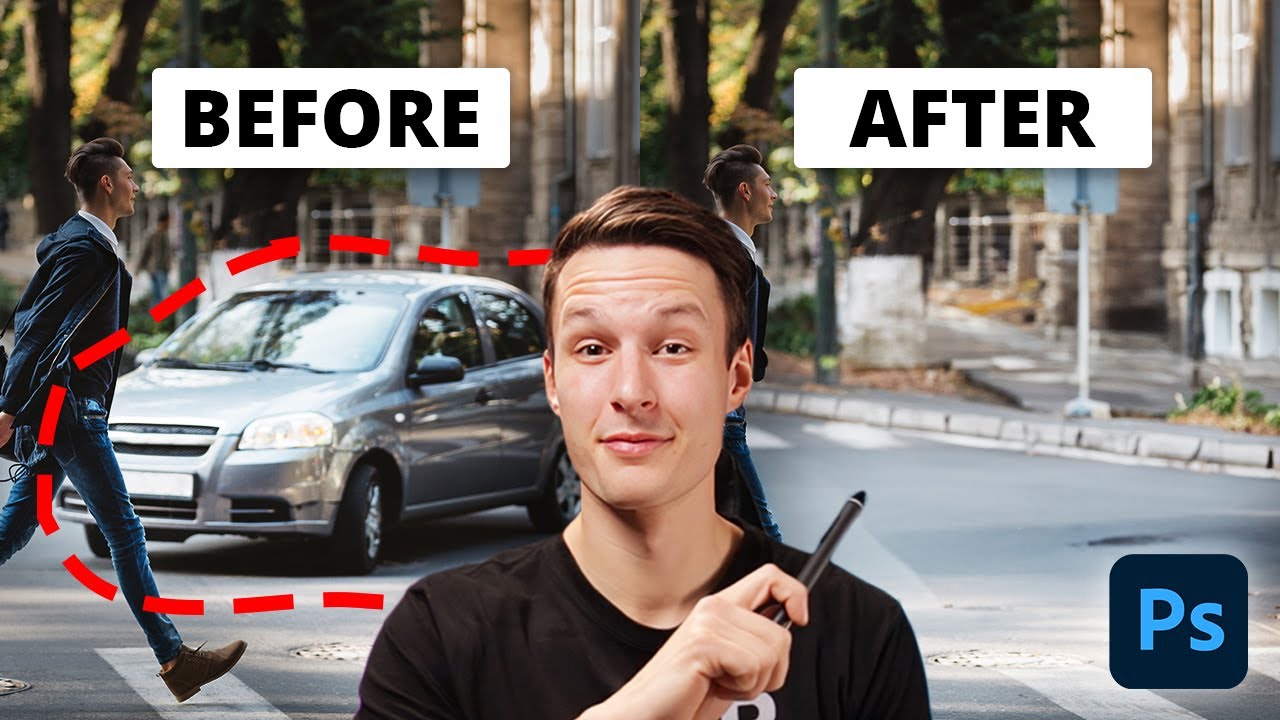
- The speaker demonstrates how to use the Lasso Tool and generative fill in Photoshop to remove a large car from an image.
- The remove tool is used to quickly clear smaller background elements like people without requiring generative fill computing power.
- The subject's leg is restored using a layer mask and the object selection tool to fix an issue caused by the generative fill layer.
Use this video with Pro
Reading, copying and transcript downloads are free. Create saved AI results for this video with a signed-in Pro account ($9/month).
Transcript
Search ignores accents. All transcript text stays visible.
Today I'll learn how to remove objects in Photoshop with ease, even when you're working with complex photos. This technique is one that can work as a standalone method, but can be enhanced with the help of other object removal tools, as you'll learn later in the lesson. Now, we're going to cover a lot in this video, so if you want to make sure that all these techniques stick, be sure to download the free lesson cheat sheet for this video available in the description below. Now, in this example, we're going to remove this car from the
background, some of the cars down the street, and then we're going to touch things up with a few additional tools to finalize the result. Now, typically with object removal tools, something as large as this car would be extremely, extremely difficult to remove because we don't have enough sample areas to rebuild what was behind this car. But now with generative fill, we can easily create new pixels within this photo to replace whatever was behind this car, or
at least make it look like we have replaced it. So, the first thing we need to do in this process is select the Lasso Tool. To select the Lasso Tool, just press L on your keyboard, or you can find it right here inside of the toolbar. The reason I'm choosing the Lasso Tool is because it's really easy to create a general selection around the object that you're trying to replace with generative fill. From there, we have a couple important settings up in the options bar. I'll set the feather to 10 pixels, and then make sure that anti-aliased is
checked. Now, we can go and create a selection around the object that we want to remove, which in this case is the car. So, I'll go and click and drag around the entire car just outside of the edge, and that also includes this bumper that is between this gentleman's legs here. So, I'm going to go all the way around like so, just around the outside edges of the car, giving enough breathing room so Photoshop can figure out what actually needs to fill in the selection area. With this active
selection, we can just go and click on generative fill inside of the contextual task bar. If you don't see this, just go up to window, and then down here to the contextual taskbar to reveal it. So, going ahead and clicking on generative fill, we'll then go and click generate without any specific prompt added.
Photoshop will take a minute to load the results and then it will give us three variations here inside of the properties panel that we can click between to see which option we like the best. Now, this one looks pretty decent, but the post is in a weird area. So, I don't really like how that turned out. I don't like the way this curb is looking here either.
So, we're actually going to regenerate a few different results for us because all three of these didn't really work out in our favor. So again, I'll go ahead and click on generate to create a new set of options for us to choose from. Now, as you can see, we have a new row of variations that we can click between to choose something that we like. In this case, this example actually looks pretty good to me or even this one here is pretty acceptable as well. I think I'm
going to opt for this particular one instead. I think it looks the most seamless overall rather than having to regenerate something else for the sake of example. So now, all of those adjustments were applied onto a new generative fill layer that if I turn this on and off, you can see the before and after. So, what has happened here is that it rebuilt our subject's pants that I don't really like, but we'll touch this up in just a moment. But most importantly, it did a great job to fill in all of this detail that was once
behind the car. This would be nearly impossible to replicate with any of the previous object removal tools in Photoshop like the clone stamp tool or the remove tool for example. This is like taking things to a totally new level. Now, before we go and touch up the problem areas, I'm also going to go and remove these cars from the background. So once again, still with the lasso tool selected, I'll just click and drag around those cars in the background that I want to remove with the same settings as before. So, that 10
pixel feather anti-alias is checked. Once again, I'll click on generative fill in the contextual taskbar, then and on generate while that selection is active and Photoshop will take a minute to load and then fill in that active selection area with something new. Now, with that complete, we can click between our variations until we have something that we're happy with. In this case, the second variation looks best to me, so I'm going to select that one here, and again, it's on its own generative fill layer. So, now with this complete, we
have to go through and touch up any other smaller areas that we'd like to remove as well as fix any problems that we have created within our generative fill layers, such as the top of our subject's leg, for example. Before we get to touching up the leg, we're going to go and remove some of the people in the background of this photo just to make it totally clean. But, because these are relatively small areas of the photo, rather than having to use all the computing power and slow down your computer for generative fill, we can
just use something like the remove tool to touch this up. Clicking on the new layer icon to create a new layer at the top of our layer stack, I'll call this layer two remove tool. I'll now go ahead and select the remove tool from the toolbar here, and then make sure that sample all layers is enabled. From there, I can just go and paint over the subject that I would like to remove or the person in the background, and then because I have remove after each brush stroke unchecked, I'm going to go and paint over the next person I want to
remove from the background as well. With those two pink highlights added, I'll press enter, and now Photoshop will remove those from my photo super easily. If you want to learn more about the remove tool specifically, you can check out this video right here where I dive deep into how to use that tool. So, now the final thing we have to do is touch up our subject's leg because if I zoom in here, you can see how he kind of has like this bent thigh. It looks like he has a broken leg or something. So, what we need to do is create a selection of
the original leg to restore it, and then we need to touch up the outer edges once again. It sounds a bit complicated, but I promise you it's super easy. So, holding alter option, I'll click on the eyeball icon beside my image layer so that now I'm only viewing that layer.
With that particular image layer selected, I'm going to go and select the object selection tool up here in the toolbar. With the mode set to lasso, I'm going to click and drag around the area that I want to restore, which is my subject's leg. So, I'll just click and drag just around the outside edges of that leg like so, and then it will snap to the edge of that object. Now, with this selection active, I'm going to re-enable all of my previous layers by clicking and dragging through the
eyeball icons to make them visible once again. Now, to restore the contents of this selection area, we need to remove it from our generative fill layer that is causing this problem. So, clicking on the generative fill layer that is the one that is removing that car and creating the issue with the leg, I'll click on that layer mask while I have this active selection. I'll then grab my brush tool by pressing B and set my foreground color to black. Now, with that generative fill layer mask
selected, I can just go and paint inside of this selection area, and it's going to restore that leg for me. Now, of course, I still have some areas outside of the selection that are showing through from this generative fill layer.
So, what we're going to do is invert this selection and then mask out these additional problem areas. So, within the contextual taskbar, we can just click on the invert selection option, and now we're selecting everything outside of our subject's leg. And with that generative fill layer mask still selected, my foreground color still set to black, I can now go and just mask out any of those other problem areas around my subject's leg. Now, it is going to reveal the car back into view because
that is what was being removed with the generative fill layer, but we can easily go and refine this using a couple of different tools. So, now with this complete, I'm going to leave the selection active and then touch up the outside edge of this leg using the remove tool. So, once again, going to the remove tool layer, I'm going to select the remove tool by pressing J, and then with the sample all layers enabled, remove after each brush stroke disabled, I'll click and drag over this
part of the car like so, and I'll only be able to select outside of the edge of my subject's leg because of this active selection. I'll press enter to commit to those changes, and Photoshop will automatically remove that for me. Now, for this remaining area between my subject's legs, I'll press command or control D to deselect this, and we'll just use another generative fill layer to make our life nice and easy. With the lasso tool selected by pressing L, I'll just create a much smaller and specific
selection area around my subject's leg so that Photoshop has an easier time to only remove the things that we don't want, and it won't really mess up the edges of his pants that we do want to maintain. So, with this selection active, we'll click on generative fill just like before. We'll then click on generate with no specific prompt added to that generative fill adjustment. Once again, we have a few different variations that we can choose between, but the first one seems to be my favorite. So, I'll just click on that
variation to enable it. Now, zooming out, you can see that we have successfully removed the car from the photo, the car is in the background, the people from the sidewalk, and we have maintained the look of our subject. So, looking at our before and after, it's pretty crazy how much we were able to remove with relatively little effort, all because of the help of generative fill. This is by far one of my favorite new object removal adjustment options, and it is something that you should
definitely use when you're trying to remove larger things from your images. Now again, if you want to download the free PDF lesson cheat sheet for this video, just click the link in the description below, type in your name and email, click the button, and you'll instantly receive a nice new PDF guide in your inbox. You'll also be added to the list of people waiting for all my future PDF guide, so you only have to do this process once, and then you're good to go. But now, if you're looking for ways to take your object removal skills
in Photoshop even further, be sure to check out this next video here covering the best tools for object removal in Photoshop. It's a great way to continue to expand on the object removal skills you learned here, and I hope to see you there next.